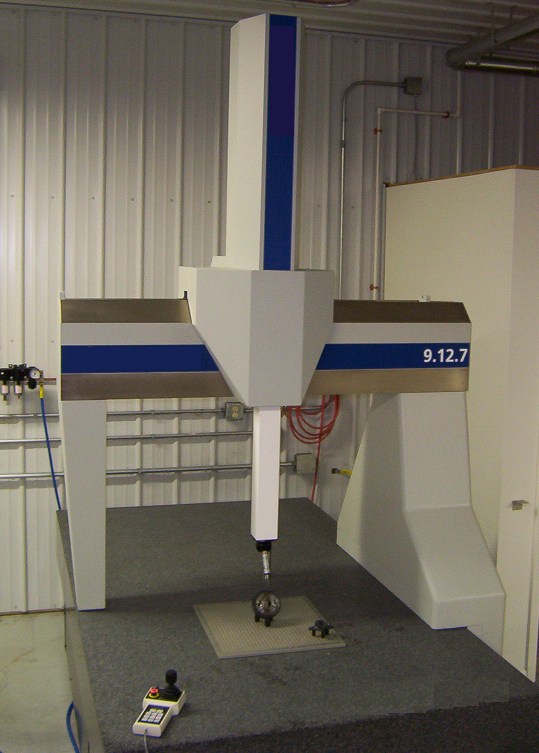
A coordinate measuring machine is a 3D device that is used in industrial setups to measurements objects. Both manually controlled and computer-operated CMMs are used industrially to size up components during testing, manufacturing and assembly processes.
A CMM defines measurements with the help of a probe with three axes of motion that record the three coordinates (X, Y and Z) of an object, which are then analyzed for accuracy. Here is a quick insight into the uses and types of CMMs available for commercial/industrial use.

Common Uses of Coordinate Measuring Machines
CMMs are used for a variety of industrial purposes, and they’re sometimes referred to as industrial robots, owing to their design and widespread use across industries. They are used for measuring dimensions of components, profile measurements, depth mapping, measurement of shafts and angularity measurement.
CMMs come in a range of sizes, designs, configurations and probe styles to suit every requirement. Based on your specific needs, you can choose between tabletop, handheld, free-standing and portable CMMs.
The Four Types of Coordinate Measuring Machines
There are four different types of CMMs available on the market. These are bridge, gantry, cantilever and horizontal arm. Each type of CMM has its own specific uses and picking the right one is essential based on what’s to be measured.
Bridge CMMs
This is inarguably the most popular type of CMM, mainly because of its simple design, affordability and superlative accuracy over repeated use. Bridge CMMS come in sizes ranging from 300×300×300mm XYZ to 2000x5000x1500mm XYZ.
A bridge CMM is the right choice when you’re looking for a machine to measure machined components with high tolerance range. The one challenge with this CMM is that it can be difficult to access the component being measured due to the way the bridge machine is designed.
Cantilever CMMs
Cantilevers are generally the smallest in size among the four types and they’re normally used to measure smaller components. They are very convenient to use thanks to a design that offers easy access on all three sides and allows for automated loading and off loading of objects.
Unlike bridge CMMs, cantilever machines are extensively used on shop floors for measuring small parts. If you’re looking for the right CMM for your facility, check out this website that offers some of the best metrology solutions and expert advice on buying and using CMMs.
Gantry CMMs
These CMMs are big and bulky and can take up a lot of space. Because of their size and weight, they’re placed directly on the floor, on top of a specially-built foundation. Gantry CMMs are generally made as per customer specifications and are used to measure big components such as airplane parts, big engines, ship components and automobile parts.
Horizontal arm CMMs
Horizontal arm CMMs come in two basic designs: plate-mounted and two-runway mounted. Of all four types, horizontal arm machines are the least reliable when it comes to accuracy, which is critical in component measurement in industrial production. However, they’re also the most flexible type of CMM and have their own distinct advantages.
Horizontal arm machines are apt for measuring large sheet-metal components, such as automobile doors, dashboards, chassis sides, and the like. Their measuring size ranges anywhere between 2x 2x1m XYZ to 4x10x3m XYZ. These are the most cost-effective option for measurement of big parts requiring open tolerances.
How to Choose the Right CMM for Your Shop
The key considerations that you should take into account when buying a coordinate measurement machine for your quality assurance process are as follows.
- Accuracy: If you’re looking for the highest level of accuracy, choose a machine that fulfills this requirement. As a rule of thumb, your measuring equipment should be at least four times more precise than the most problematic component tolerance. Generally, cantilever CMMs offer the highest accuracy, followed by bridge and gantry and lastly horizontal arm.
Also consider which configuration would best suit your needs.
- Size: Size of your CMM is in fact the most important consideration during the selection process. And this depends on the size, type and number of components that will be measured on the device. In addition, take into account the space you have available to place the machine and the accessibility around the area for easy operation.
- Probe type: Talk to an expert to know if you should opt for a contact probe or a non-contact (laser) probe. Contact probes give more accurate measurements, but non-contact probes are faster. You can also opt for a multi-sensor probe, which combines both.
